When you want to enable Cloudflare to improve website performance and protection on cPanel hosting. This article explains how to activate and configure Cloudflare for hosting accounts.
Loading...
When you want to enable Cloudflare to improve website performance and protection on cPanel hosting. This article explains how to activate and configure Cloudflare for hosting accounts.
Cloudflare accelerates your websites and protects your website from malicious visitors and bots. It improves the page load times by caching your website content to all of their globally distributed network of servers.
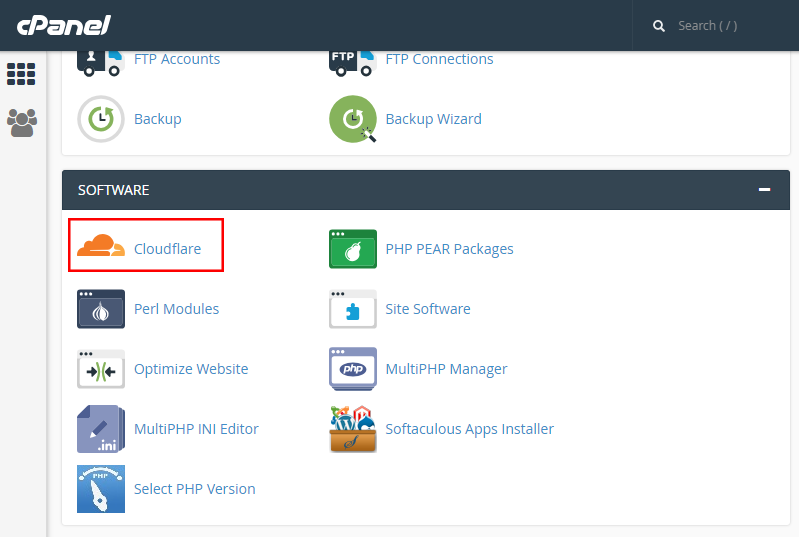
Log in to the cPanel of the domain name for which you want to enable Cloudflare.
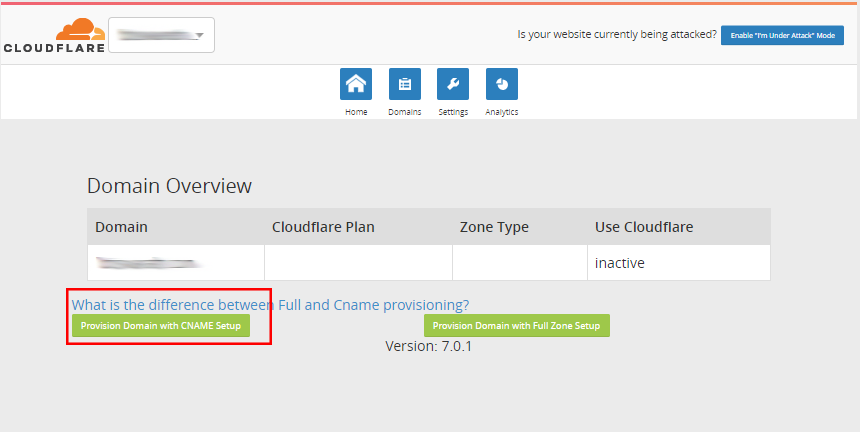
| CNAME Setup | Full DNS Setup |
|---|---|
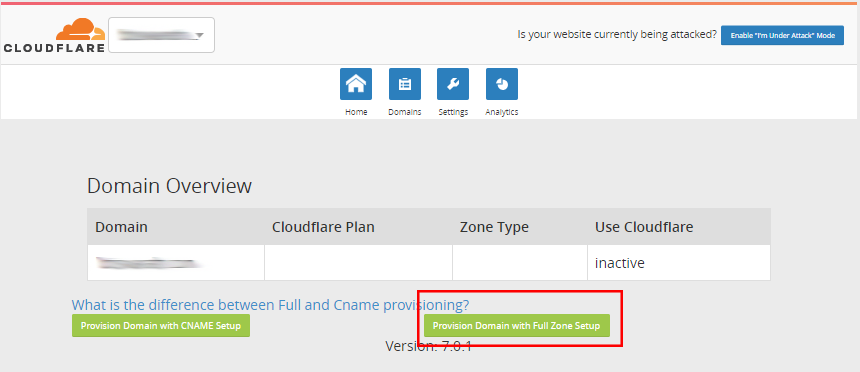
| In this configuration, your domain name points to your authoritative DNS, and only subdomains (example: www.mydomain.com, blog.mydomain.com) are pointed to Cloudflare. This configuration works only with CNAME records, and if you wish to configure it using A records, you will need to configure it using a full DNS setup. | In this configuration, you need to update your domain's current name servers to Cloudflare's name servers. This will make Cloudflare's name servers the authoritative DNS for your domain name. When using Full DNS Setup, the traffic for your entire website is routed through Cloudflare, which results in faster load times for your website. |
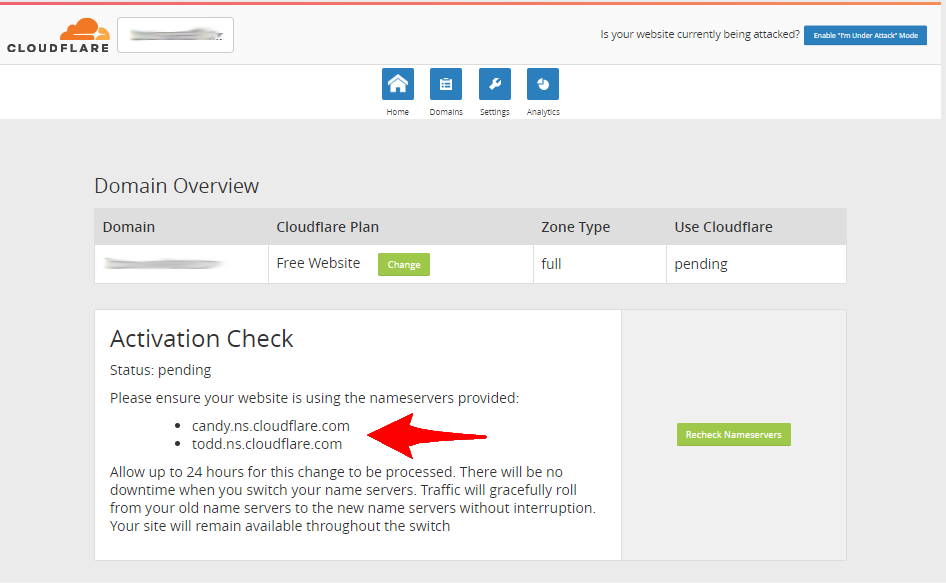
In this configuration, you need to update your domain's current name servers to Cloudflare's name servers. This will make Cloudflare's name servers the authoritative DNS for your domain name.
Allow up to 24 hours for these changes to be processed.
Loading...