How to Use the SiteLock Dashboard and Security Features
When you want to review scans, alerts, or security settings for your protected site. This article explains how to use the SiteLock dashboard and security features.
This article explains the various functionalities available within the SiteLock Panel.
On logging in to your SiteLock Panel, you will see the following sections:
- Visitor Data
- Security Summary
- Messages and Alerts
- SiteLock Badge or TrustSeal
- Business Verification
- Sites
- FTP Settings
- TrueShield Firewall/TrueSpeed CDN
Visitor Data
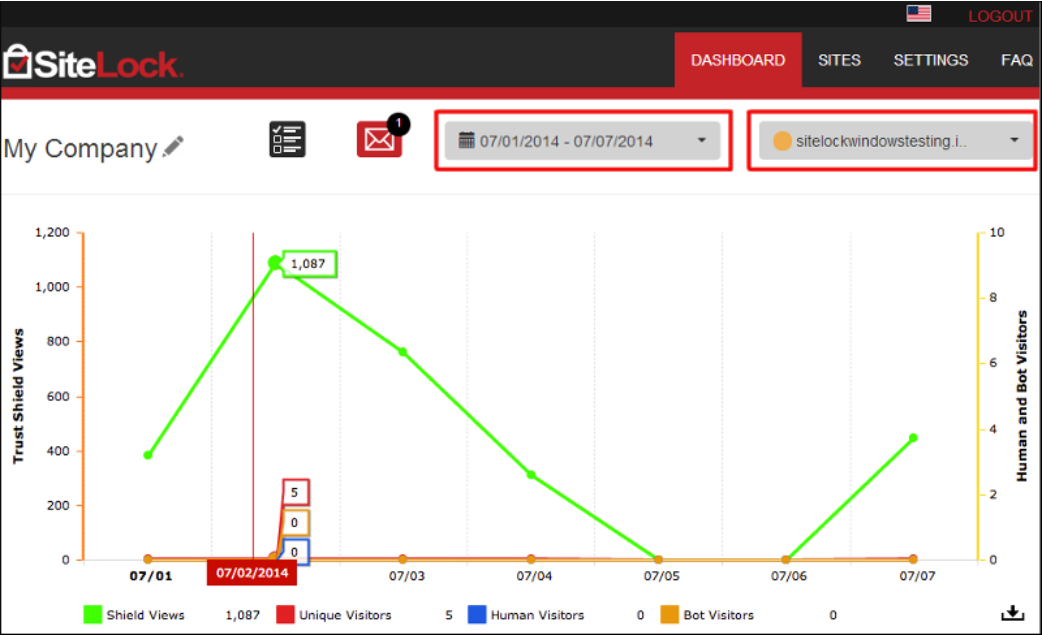
Here, you can filter the visitor data based on a specific duration and website.
Security Summary
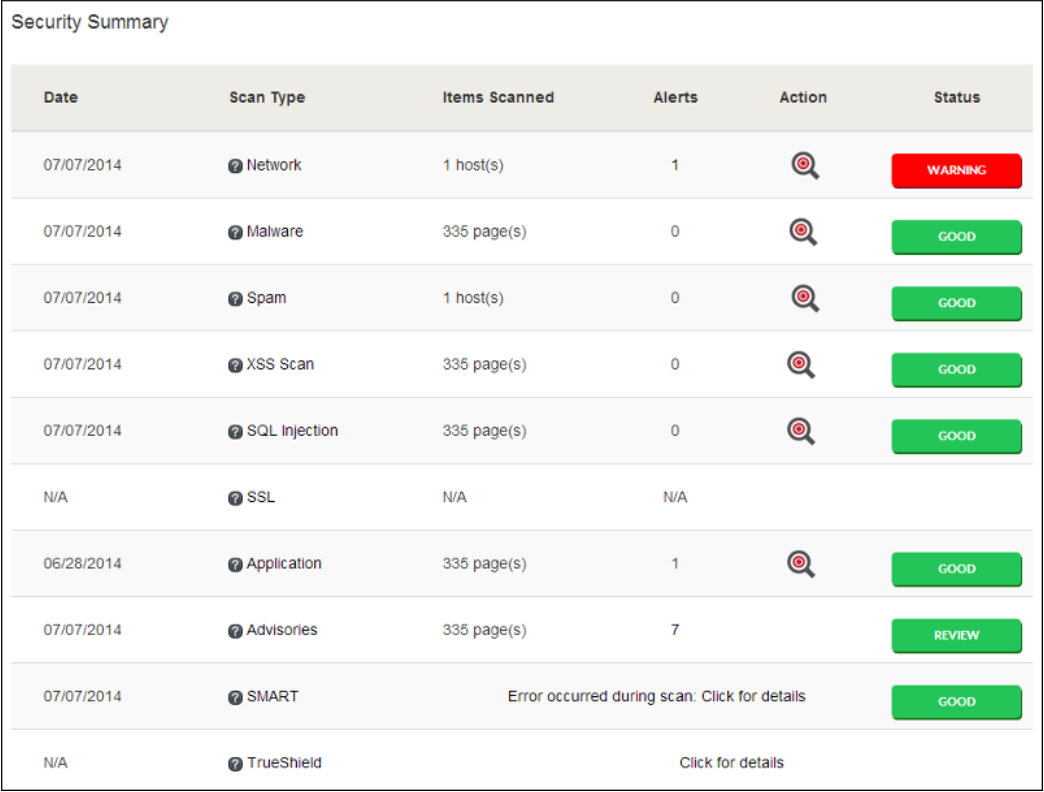
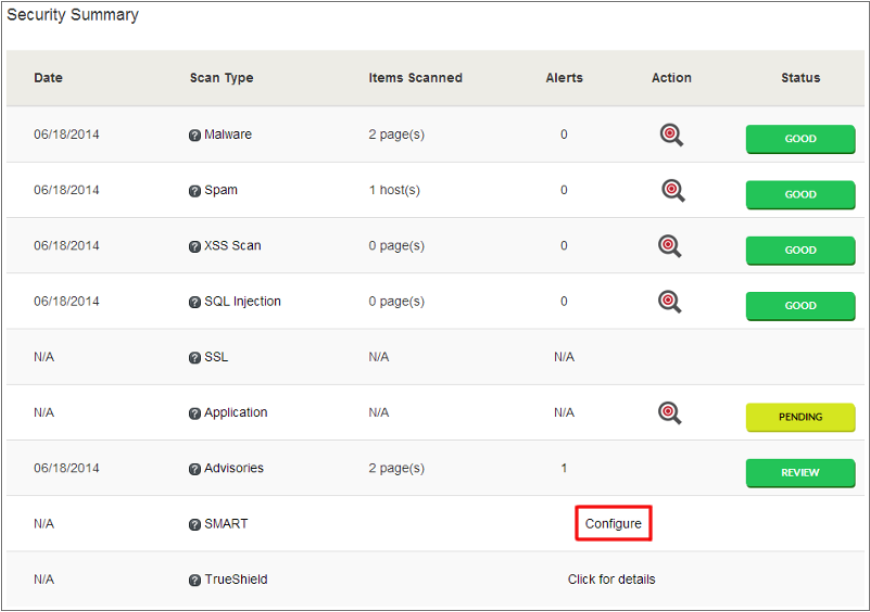
This section displays the various types of scans available for your website and their status. You can also initiate scans from here.
Messages and Alerts
This section displays messages/alerts generated by the scans on your website.
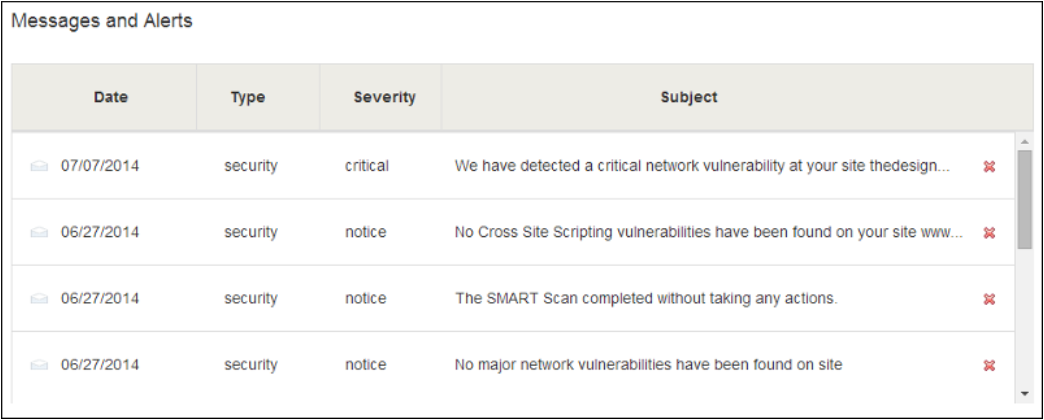
You can jump to this section by clicking the icon below.

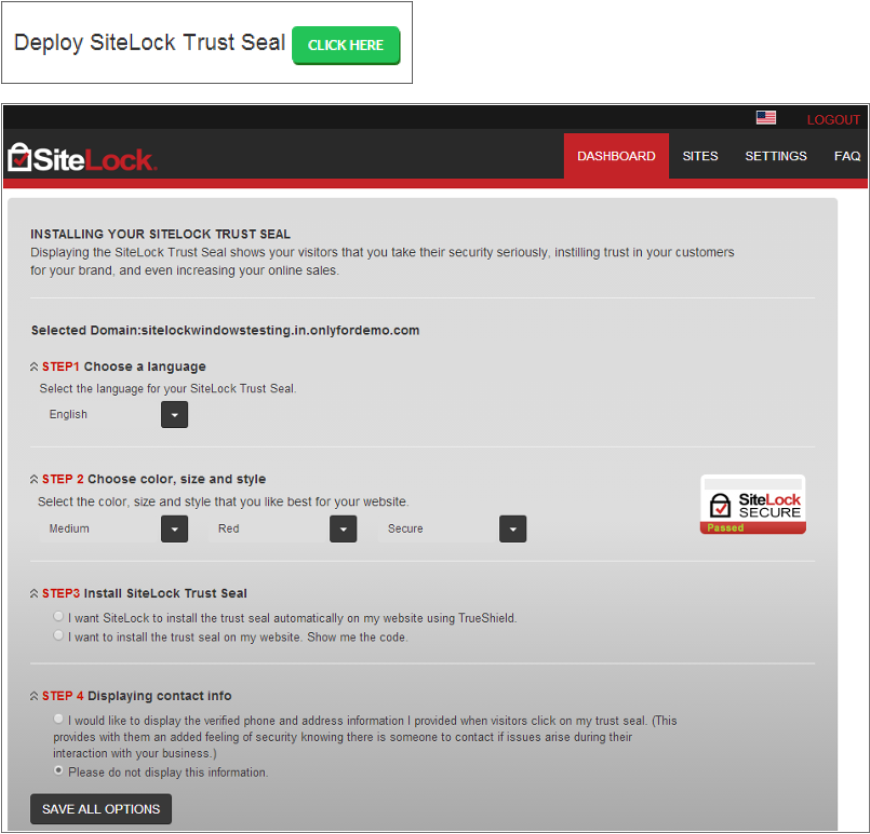
SiteLock Badge or TrustSeal
You can display the SiteLock TrustSeal on your website through the link below, which appears in the lower section of your SiteLock Dashboard.
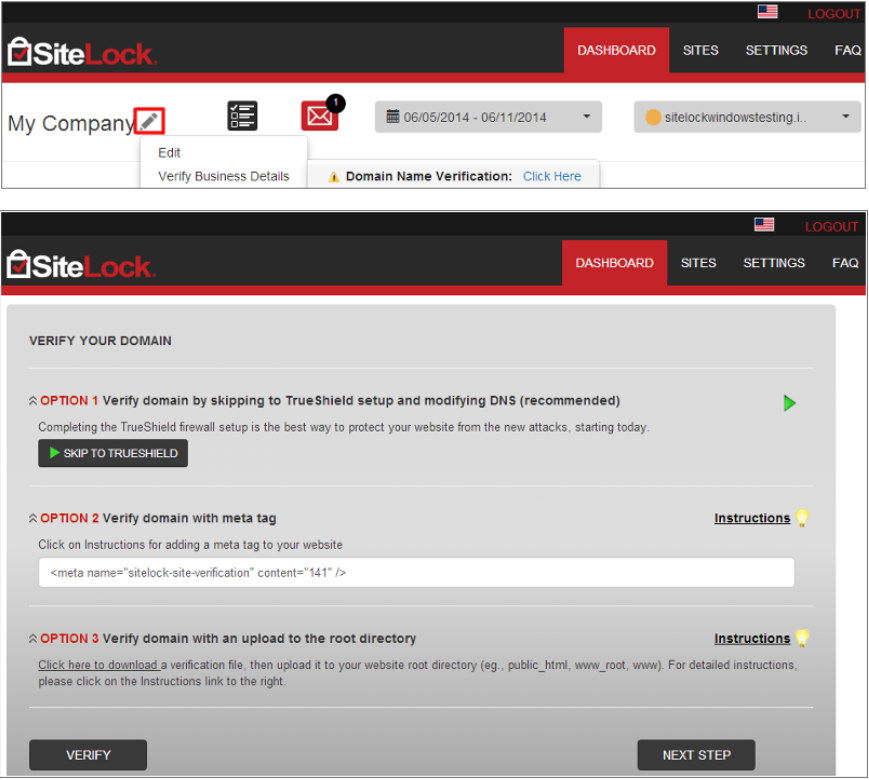
Business Verification
You can complete the Business Verification for your website to display these details in your TrustSeal.
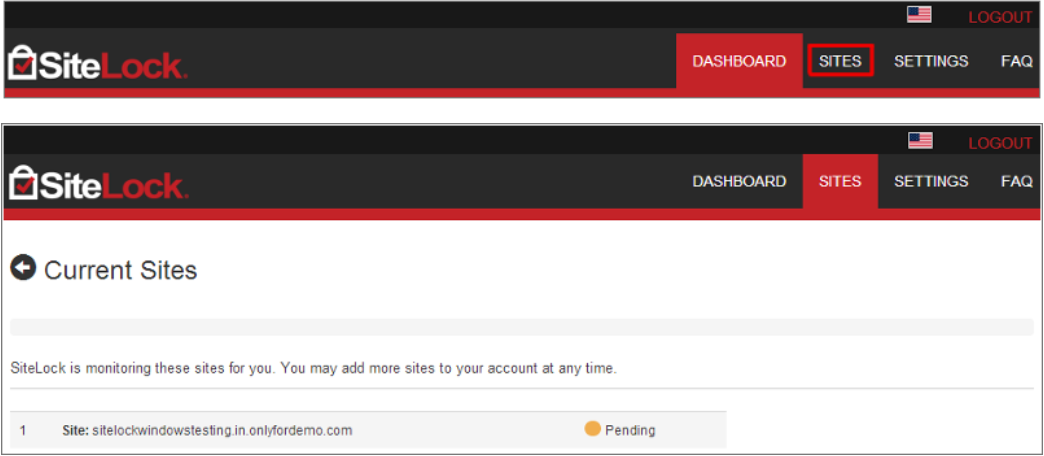
Sites
For quick management, you can toggle between the websites configured under your SiteLock Panel as shown below.
FTP Settings
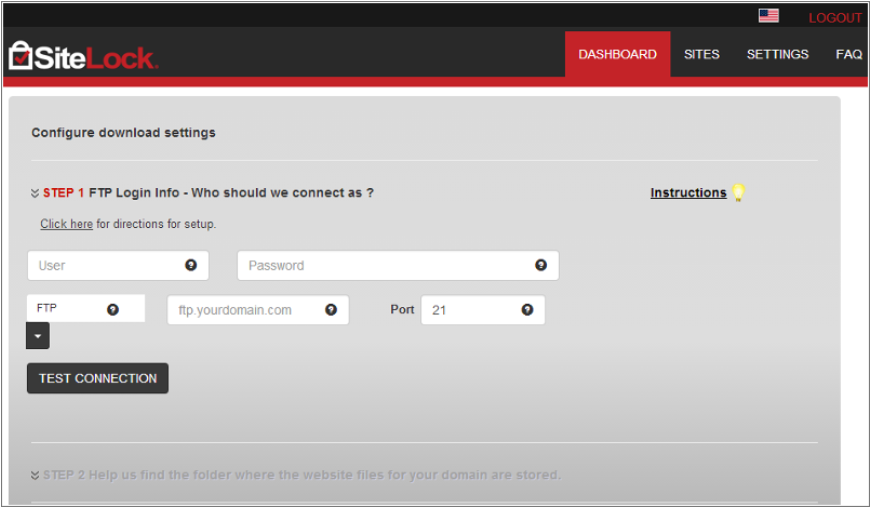
To use the Secure Malware Alert and Removal Tool (SMART), you can input/edit your FTP settings as shown below. (This scan is not available for the lowest plan.)
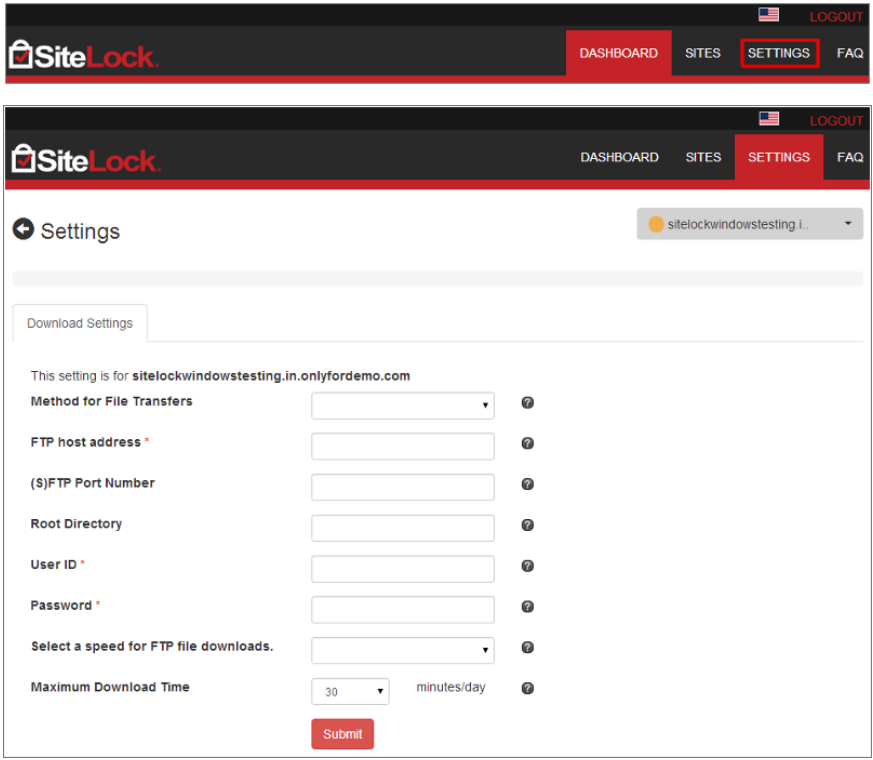
These details can be submitted through the Configure SMART link in the Security Summary section.
TrueShield Firewall/TrueSpeed CDN
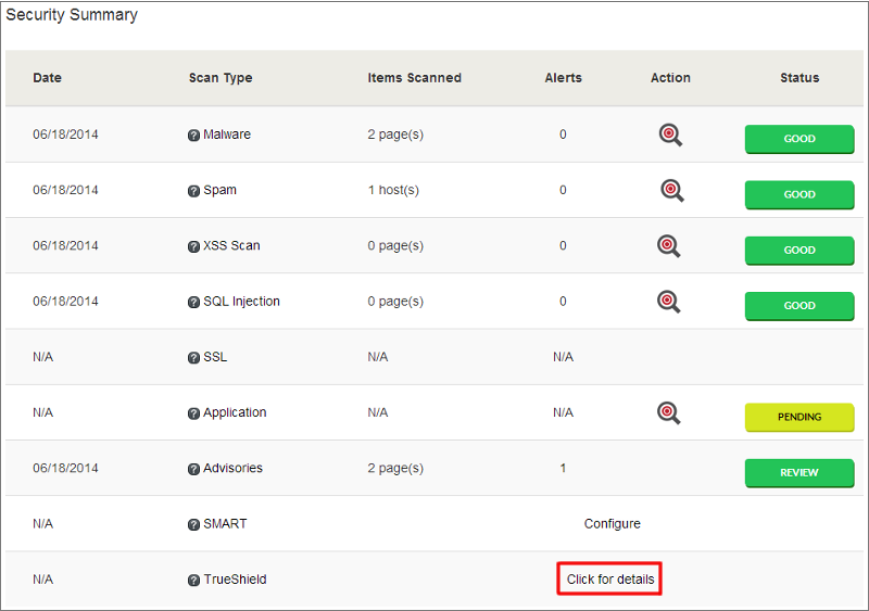
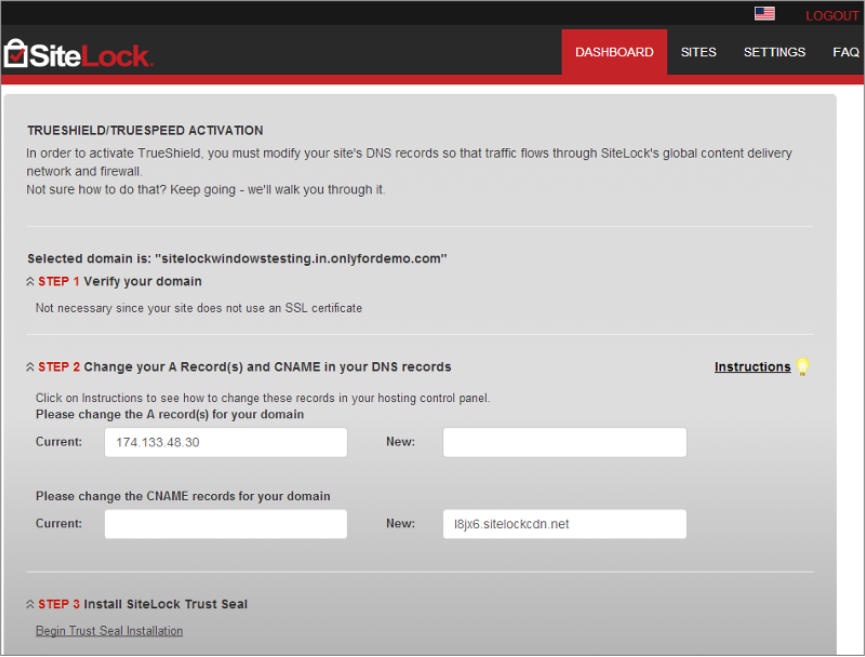
To block bad traffic and increase your website speed, it is recommended that you configure TrueShield Firewall/TrueSpeed CDN for your website. You can do this through the TrueShield details link in the Security Summary section on your Dashboard.