

An unsecure website is an easy target for hackers and malicious attacks. As a website owner, it is crucial that you pay attention to this and keep your website secure. One way of securing your website is to install a website security software.
In this tutorial, we’ll introduce to you one such website security software – SiteLock. Furthermore, we’ll walk you through the steps to install it on your website. So, without further ado let us begin!
What is SiteLock?
SiteLock is a cloud-based website security software. It scans websites and acts as an early detection alarm to flag threats like bot attacks, malware injections, harmful traffic and more. Apart from protecting your website, SiteLock also fixes bugs and vulnerabilities to keep your website up to date.
Features of SiteLock Website Security
- Offers automatic website scanner to check for vulnerabilities and malicious codes
- Removes malware and malicious codes automatically
- Protects your database, and scans your files and applications
- Includes CDN, Firewall, blacklist monitoring, spam protection, etc.
- Provides 24×7 support
How to Install SiteLock Website Security
If you are our Reseller or web pro, follow these steps to install SiteLock website security software on your website.
Step 1: Login to your Control Panel.
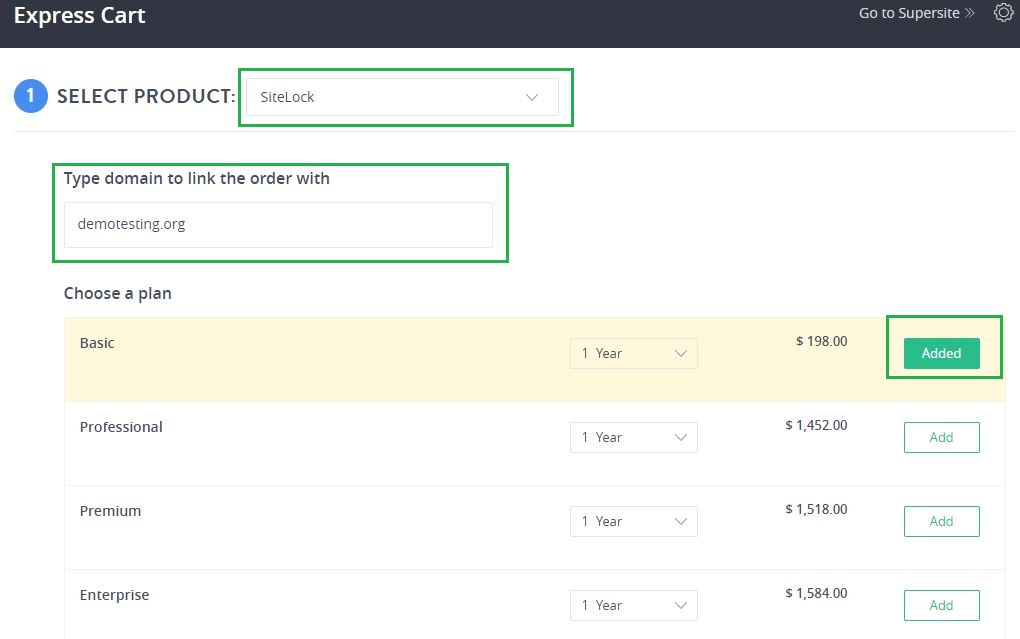
Step 2: Go to Express Cart
Step 3: Select ‘SiteLock’ from the product drop-down menu. Then type the domain name you want to link SiteLock and select the plan of your choice.
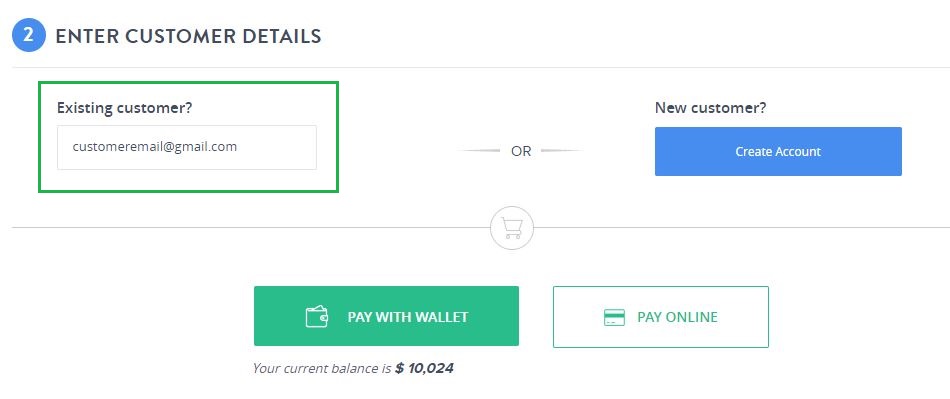
Step 4: Next, enter the customer’s email address for whom you are purchasing SiteLock and pay. You can pay either with your wallet or online.
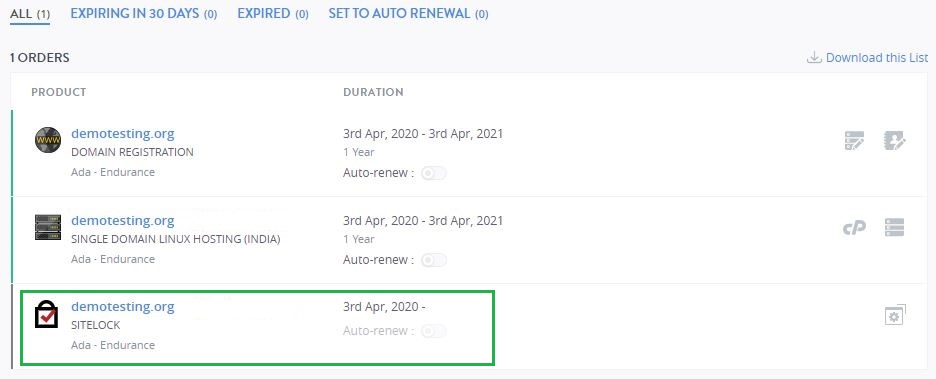
Step 5: Now, that you’ve placed the order. To access SiteLock, return to your control panel. Go to the ‘Orders’ section and select the SiteLock order.
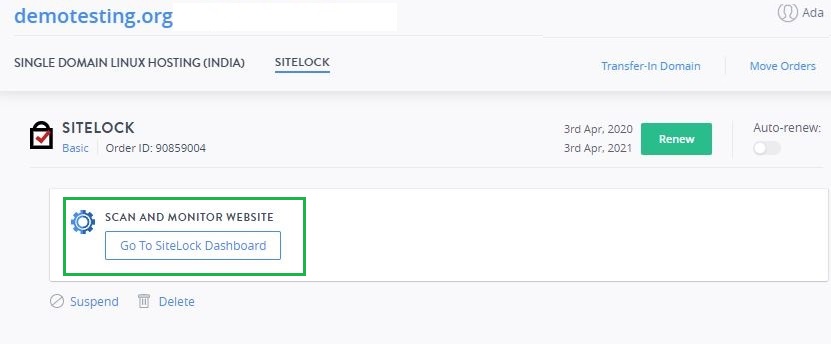
Step 6: A new page opens. Here, click on ‘Go to SiteLock Dashboard’ to complete your SiteLock setup.
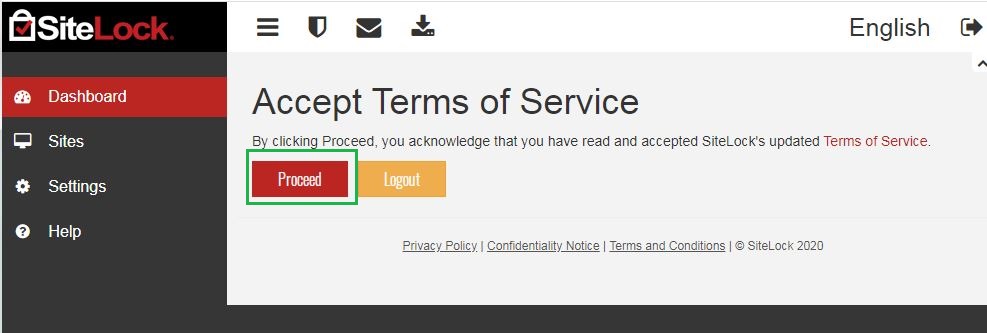
Step 7: Post clicking, you will be redirected to the SiteLock website. Click on ‘Proceed’ to accept the terms and conditions. Otherwise, click on ‘Logout’ if you wish to set up your SiteLock later. We recommend setting sooner the better!
Step 8: Post clicking on Proceed, you will be redirected to verify your Domain Name and TrueShield. Until these are configured and verified your SiteLock won’t start scanning.
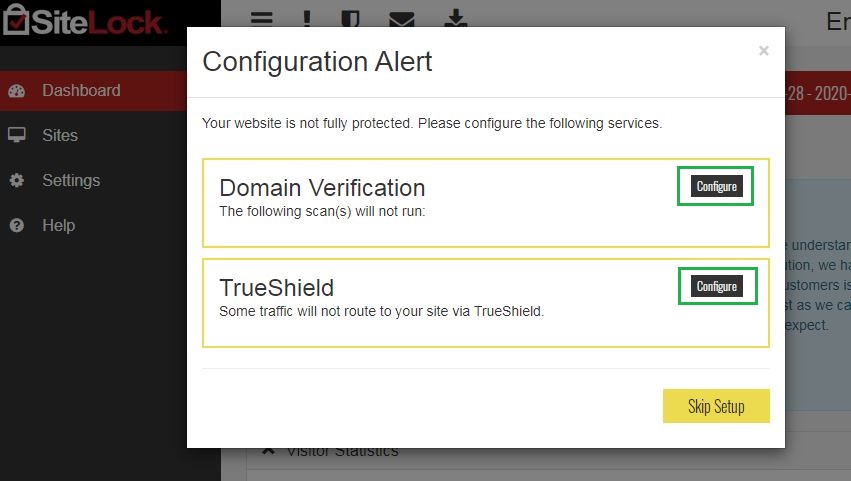
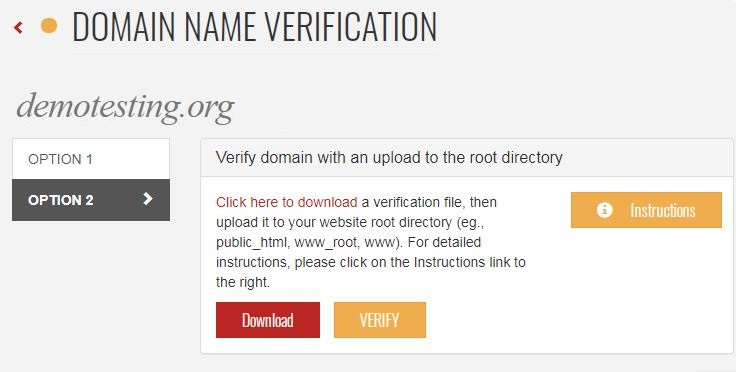
Step 9: To verify your domain name, click on ‘Configure’. After this, there are two options to verify your domain. Click on ‘Instructions’ a PDF file will be downloaded. Read it and add a meta tag to your website and click on verify.
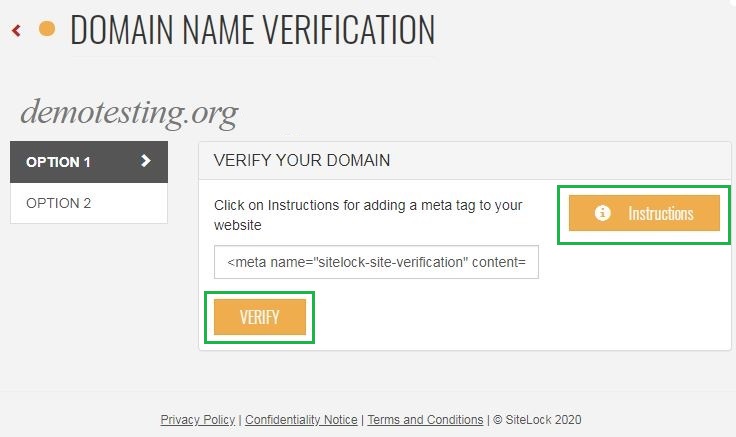
Step 10: Post clicking on ‘Verify’ a ‘Domain Verification’ notification appears. It may take a few minutes to verify your domain name. Be patient!

Step 11: Once your domain name is verified, you can visit your ‘Dashboard’ and complete the pending verifications.
For your ease, the ‘Pending Verifications’ are displayed in yellow error sign whereas the completed ones show a green tick.
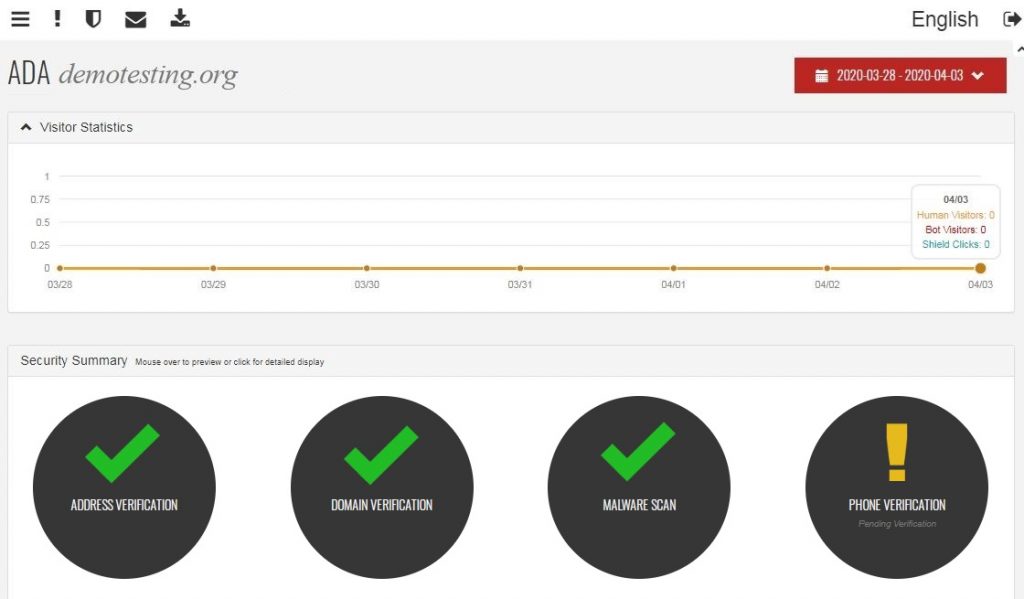
Depending on what all you have verified, SiteLock website security will start populating the statistics and protect your website.
Note: If you’re a reseller, kindly make sure you have the following settings in your control panel so that you can sell SiteLock to your Customers and Sub-Resellers. To know how to go about this, please refer to our KnowledgeBase.
Conclusion
Installing SiteLock website security is recommended to protect websites from malicious hackers and malwares.
We hope this tutorial was useful to you. If you have any queries or suggestions, feel free to leave them in the comments section below! We’re happy to help!
Reseller Club Hosting Services
Reseller Hosting | Windows Reseller Hosting | Cloud Hosting | VPS Hosting | Managed VPS Hosting | Dedicated Server Hosting | Windows Dedicated Server | Managed Dedicated Server | Linux Shared Hosting | Windows Shared Hosting
There is no ads to display, Please add some


